Feeds:
Posts
Comments

Archive for February, 2013

IMG_3208

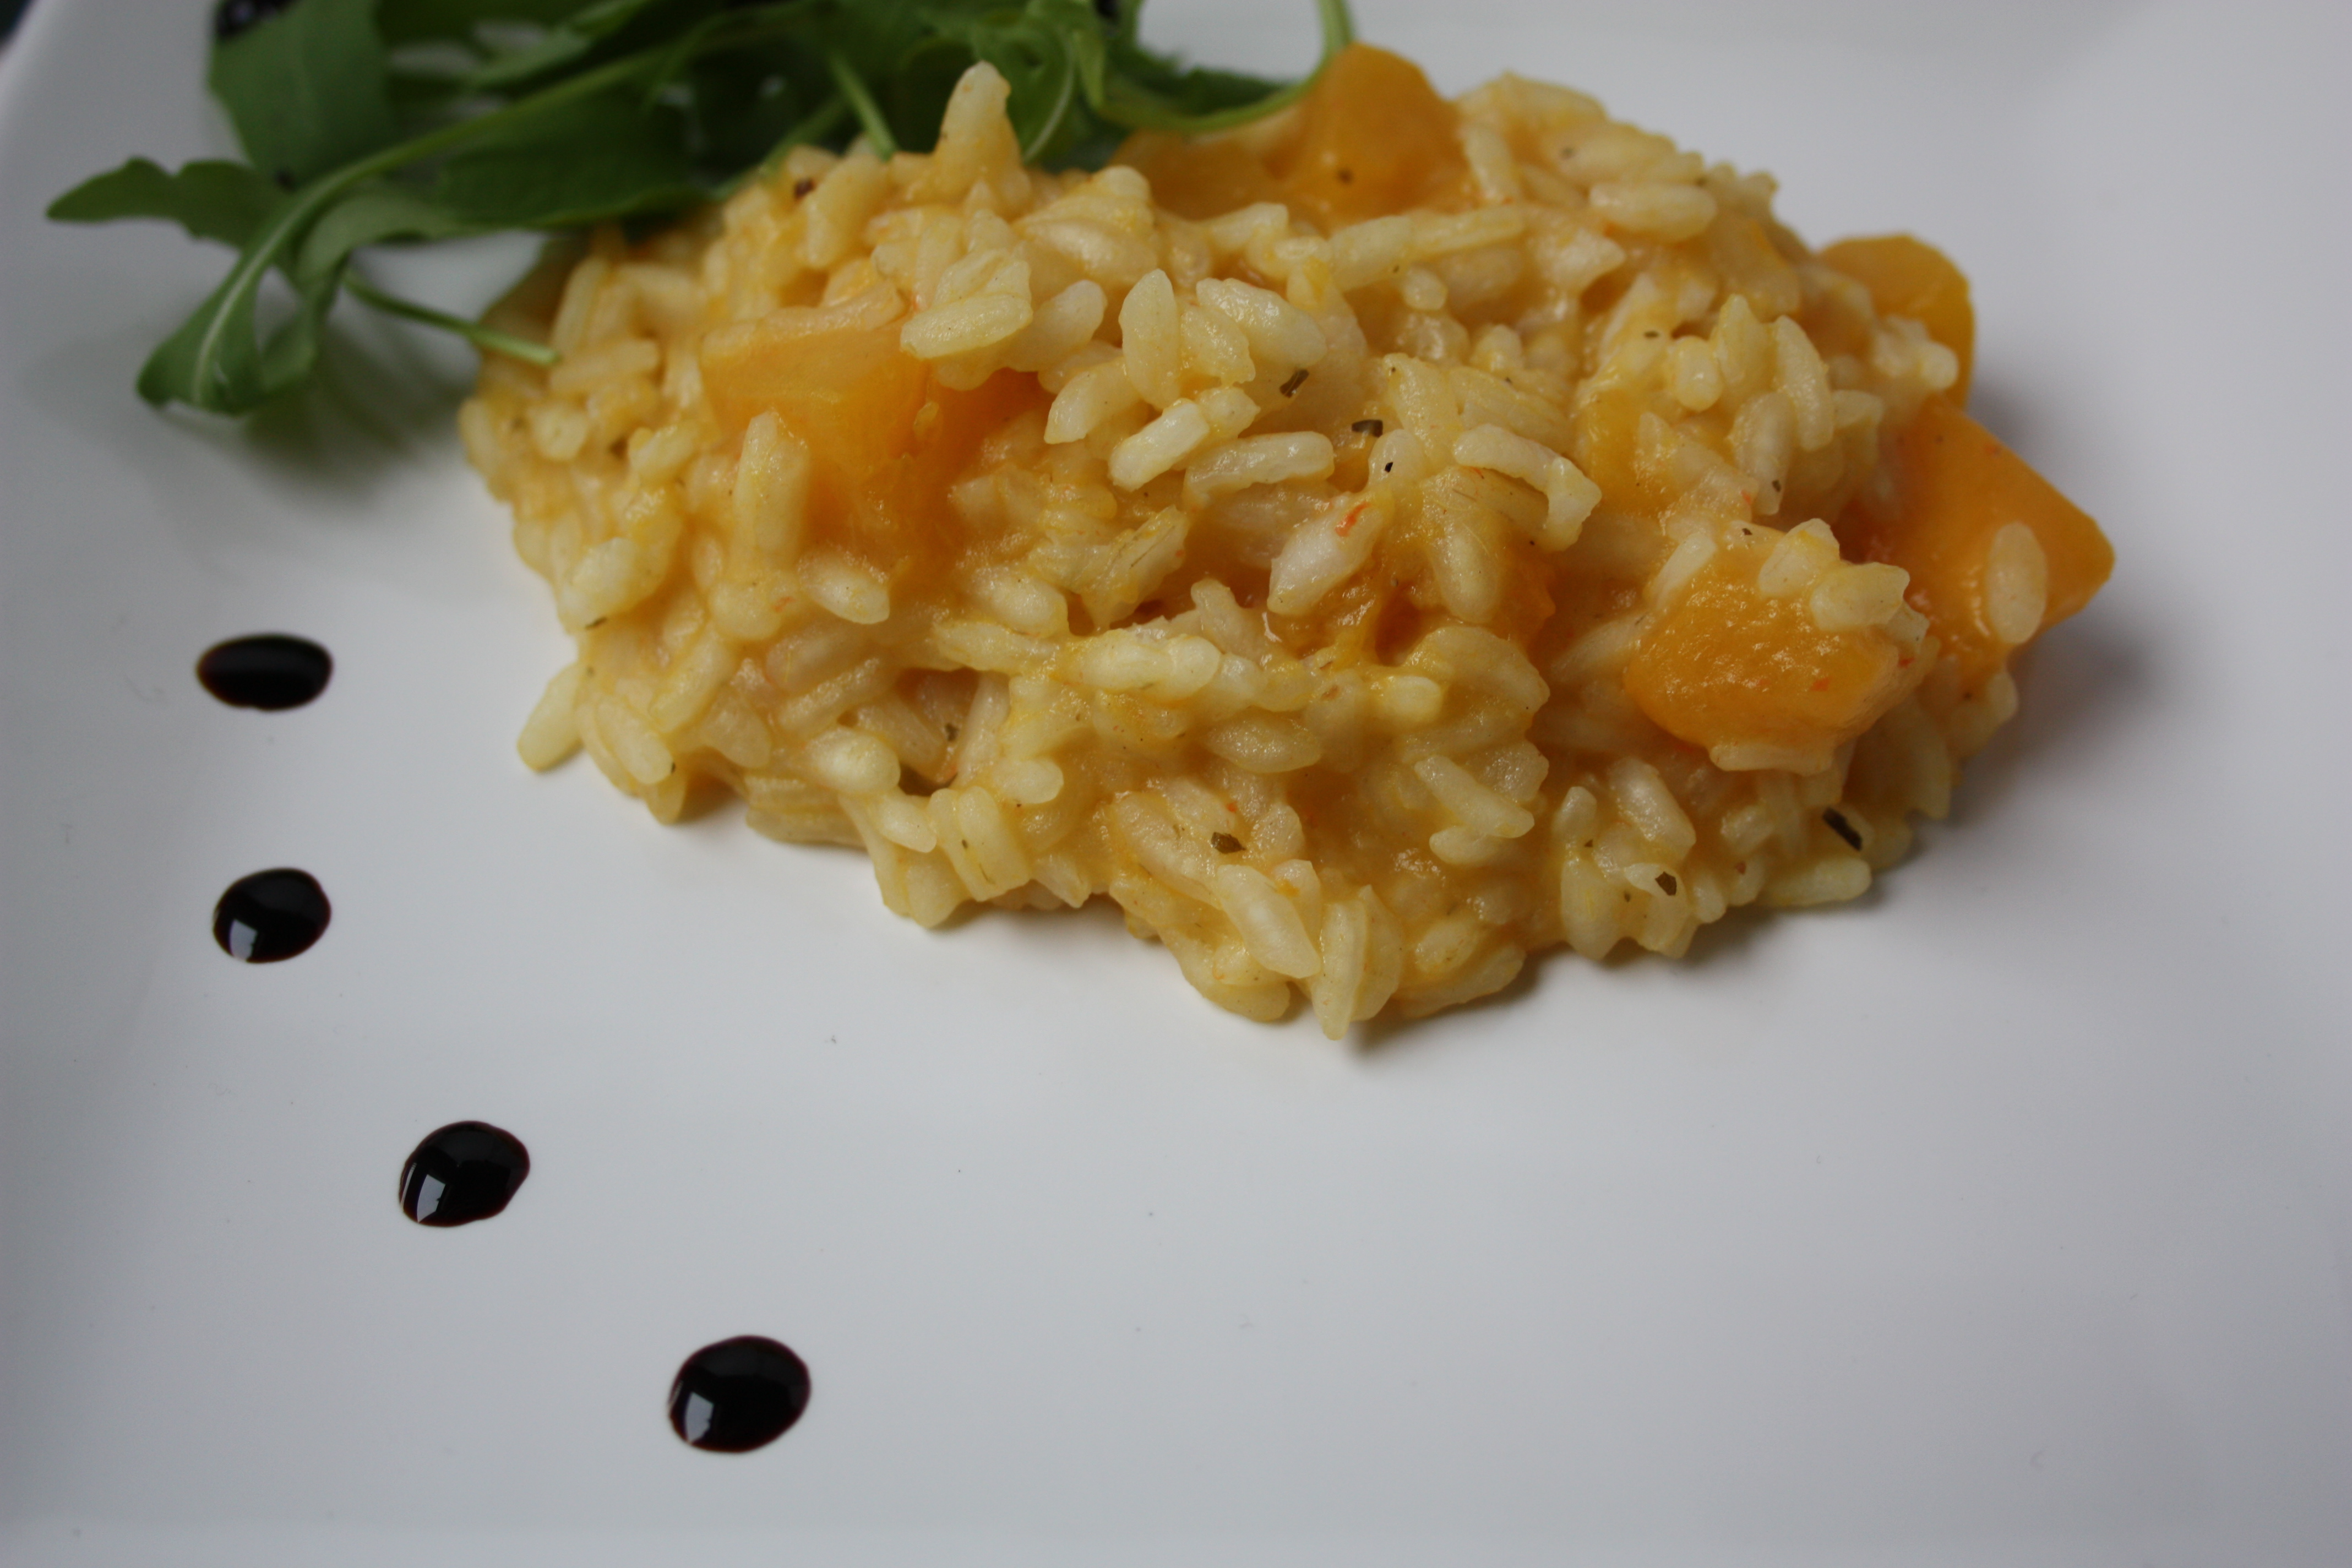
Youvarlakia is a Greek soup dish made of  lamb and rice balls in an egg and lemon broth.  This is one of my favourites.  For me, it is true comfort food.  Not the most attractive of dishes but as they say, never judge a book by its cover.  What it lacks in plate appeal it certainly makes up for in taste.  The avgolemono broth has a combination of lemon which gives it an acidity with the eggs softening this by creating a creamy richness.  These go together beautifully with the lamb and rice meatballs.  Many Greeks add potatoes and carrots to cook with the broth, but I prefer mine plain or with some wilted spinach.

I can still see my mother at the kitchen table pushing meat and onion through the mincer clamped to the table.  The minced ingredients would then be placed into a large mixing bowl where she would  knead them with her hands for all she was worth.  I am sure looking back that this was a way to get out all her frustrations – and early form of de-stressing.  I now realise that I spent an awful lot of time sitting at the kitchen table watching her cook, learning to judge when to interject with offers of help and when to just keep quiet.  When it came to the task of mincing, I was always desperate to turn the handle, but the occasions that I was honored with this task were few and far between.  When my chance came my fear that if I turned the handle too quickly there might be a nasty accident meant that the turning was painfully slow.  After a couple of minutes my mothers patience ran out and I was relieved of the task for being too slow and sent back to my perch on the kitchen stool!

When I make this dish I am reminded so strongly of my brother.  We knew those little meatballs as hedgehogs because of the spikes of rice that stick out of them.  We both loved them and would always ask my mother to cook them.

Later in life when we returned home for visits there was always the  prior discussions with my mother on what we wanted her to cook for us.  Youvarlakia and Lahanodolmades (the same meat mixture but wrapped in cabbage leaves) were the two favourites that I remembered asking  for – the usual reply back was that they were a lot of work but instead she would cook me something else much nicer.

Except, that was, when I went home and my brother was there.  Then we would get Youvarlakia or Lahanodolmades.  They were his favourite and obviously the importance of pleasing the eldest son was a very big factor for my mother.  When I complained at the table that she never made these for just me, my brother would laugh resting his hand on my arm to demonstrate he meant no malice but silently saying ‘well what do you expect’.  I soon made sure that any future visits coincided with his!

Some recipes call for a little oil or an egg to be added to the meatball ingredients, supposedly to lighten them and perhaps bind the mixture.  I find this makes the broth a little greasy and I feel do not add to the dish.

Youvarlakia Γιουβαρλάκια

450g/1 lb minced lamb

1 onion grated or very finely chopped

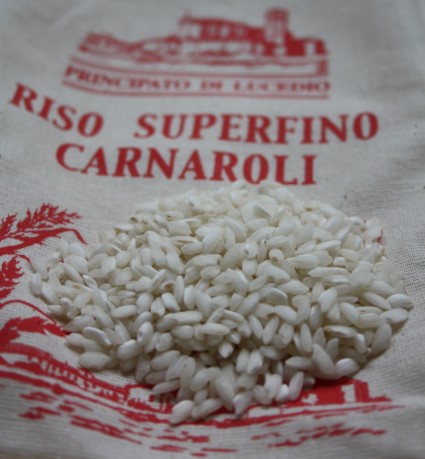
35g/2oz long grain rice

1 tbs mint dried

2 tbs parsley finely chopped

salt and pepper to taste

flour for coating (to make this gluten free, leave the flour out)

stock (either a stock cube or homemade)

3 large eggs

3 tbs lemon juice

Mix together the meat, onion, rice, mint, parsley and season with the salt and pepper.  I find that it’s best to use your hands.  Knead until very well combined.

Now take a slightly larger tablespoon of the mixture and roll into a ball.  Roll in the flour to coat.

Put the stock in a pan and bring to a  gentle boil.  Gently drop the floured balls into the stock, cover and lower the heat.  The liquid should just cover all the balls.  Gently simmer for 45 minutes.

Remove from the heat and pour a little of the stock into a cup.  This will be used for the sauce.

Avgolemono broth

Separate the eggs.  Whip the egg whites with a little salt until soft peaks are reached.  Continue whipping while adding the yolks, continue to whip, add the lemon juice and then the saved cup of  the now cooled stock a little at a time – the stock needs to have cooled and added a little at a time as you don’t want to curdle the eggs.  I tend to add a little more stock from the pan to the egg and lemon mixture before adding this to the pan with the meatballs.  Once added give the pan a good shake to incorporate the avgolemono broth.   You could use a wooden spoon to mix but the meatballs are prone to breaking.

Place the balls into a soup dish and spoon over the broth, serving with some extra lemon.

The downside of the avgolemono broth is once made it doesn’t like to be reheated.  The way to get round this is to make the meatballs and remove them from the stock.  The meatballs can be refrigerated separately.  If you are planning on making the meatballs last two meals then it is best to reheat half the meatballs with half the stock, making fresh avgolemono broth each time.

Advertisement

Read Full Post »

Brioche

Brioche MD (1)

Brioche has to be the Queen of  all the breads, mainly because she has such a light sweet buttery taste,  with two sides – half cake, half bread – and she can be a little difficult to handle when making.   All the same the brioche is worth the effort and hard work and its not just me the holds the brioche in such high regard.   The dog can sniff a brioche coming out of the oven from the bottom of the garden.  It must be the buttery smell because it drives him mad.  It seems he will do anything for a small piece.  He takes his nagging and begging to new levels to secure a few crumbs.    I am shall be testing his strong need and desire for brioche when we next visit the vet by having a small piece in my pocket.  Hopefully we can avoid the usual practice of his command performance of high drama and an unwillingness to even cross the threshold.  It will be interesting to see just how much he really does love his brioche!

photo(117)

It took me several attempts to master the brioche recipe because the dough is so much stickier and more fluid than other yeast breads.  On my first attempt I made one large brioche, what I didn’t quite realise was that the brioche rises quite a bit in the oven.  So when I opened the oven door towards the end of the cooking time I was horrified to see that the brioche had not only hit the roof of the oven but having no where else to go started to expand alarmingly in a sideways direction, and not in a good way.

I have also tried different flours.   At the beginning I used a strong white flour which for my taste didn’t quite give that soft cakey texture.  I then switched to plain flour which gave a much better taste and texture but it was the 00 plain flour which worked best for me.  I also had a little guilt over the six eggs and 350 grams of butter which seemed on the extravagant side but once tasted I don’t think I would want to change the recipe.  The rich buttery taste and luxurious yellow crumb can only come from the eggs and butter.  The brioche takes time to make so why cut corners?

Like a lot of fresh yeast breads the brioche only seems to be at its best for a very short period, maybe two days but that isn’t a problem because it freezes very well.  I tend to bake two at a time, one to be eaten straight away and the other to be sliced and frozen and used later in a bead and butter pudding or toasted with some jam.

The brioche is also different in that it needs three rises the second rise being overnight in the fridge or a very cool place.  The three rises mean that there is less yeast in the recipe and so the proving may take a little longer but this only helps to improve the flavour and create an even texture.  Leaving the dough in the fridge or a very cool place helps to make it much more manageable to handle and shape.

I have read many recipes for brioche and often they differ in oven temperatures and time.  For my oven I have found that I get the best results from using two 16cm tins rather the one 22cm tin.   I set the oven high for the beginning of the bake and then turn it down to finish the baking.  Again, you cannot  judge whether it is done just by looking, as the egg wash browns and gives the impression that it is cooked when it is not.  The only answer is the skewer test – if it comes out clean then its done.

Brioche

Ingredients

15g fresh yeast

70 ml lukewarm milk – the warm milk will start to activate the yeast

500g plain 00 flour or strong white flour if you prefer

15g salt

6 eggs beaten lightly

30g caster sugar

350g butter softened

30g caster sugar

1 egg yolk for brushing mixed with a little milk

Method

Heat the milk very briefly in the microwave, test to make sure it is only lukewarm.  Add the yeast and stir to dissolve.

Put the flour, salt and eggs in a mixing bowl using a dough hook.  Add the yeast and milk mixture.

On minimum speed mix the ingredients until they are well combined.

Turn the speed up and knead for approx 10 minutes,  stopping the machine every now and then to scrape down any loose bits.  By the end of the 10 minutes the dough will have become firmer and you will notice it become elastic against the sides of the bowl.  The dough is still very sticky and difficult to handle.  Do not be tempted to add any more flour.

Add together the sugar with some of the softened butter.  With the mixer on slow start to add small spoonfuls of the butter and sugar mixture, wait until combined before added the next.  Continue with the remaining butter.  When all the butter has been used up turn the mixer onto a medium speed and knead for another 10 minutes.  The dough will become beautifully silky and shiny.  You will also notice the dough will make a slapping noise against the side of the mixer bowl.

Remove dough hook, cover dough with clingfilm and leave to rise to double in size.  This will take 2-3 hours, don’t be alarmed if after the first hour there isn’t a lot of progress.  As there is less yeast it will take longer.

When the dough has doubled in size it needs knocking back  – at this stage I use my hands to turn it over a couple of times, knocking out the air.

Cover the dough again and place in a very cool place or the fridge for 6-8 hours.  I usually make the dough up in the evening and return to it in the morning.

When you turn the dough out you will find it quite stiff and very easy to use.  The dough now needs to be divided into two balls.  One ball of 2/3rds and the other of the remaining 1/3rd.

I like to melt a little butter in the microwave and brush the brioche tin thoroughly before putting the larger of the balls into it.  Once in, create a hole in the centre with your fingers.  With the smaller ball roll it into a tear shape.  With the larger end at the top push the smaller ball into the centre of the hole and with your fingers make sure you press it well into the large ball.

Brush lightly with the egg wash, being carefully not to let any wash collect around the join of the small ball on the top or around the edge of the fluted tin as this will hamper the dough rising in the oven.

Leave it to rise in a warm place until it has reached nearly the top of the tin.

Preheat your oven to 200C/400F/Gas mark 6.

Before putting in the oven, gently brush the brioche again with the egg wash.  You can at this stage use a pair of scissors or sharp knife to cut 6 diagonal slashes into the main ball, leaving the top ball intact.  Dipping the scissors or knife into cold water between slashes helps them not to stick to the dough.

Place in the oven, allowing space for the brioche to rise taking into account the top ball.

Bake for 15 minutes and then turn down the oven to 170C/325F/Gas mark 3 for a further 30/40 minutes.

The only way to really test whether the brioche is cooked is to insert a skewer into the centre.  If it comes out clean then its cooked otherwise leave in the oven for another 5 minutes and test again.

Once cooked take out of the oven and leave in its tin to cool for 10/20 minutes then turn out onto a wire rack.

Read Full Post »

Pumpkin Risotto

risotto

Risotto is definitely a dish that has to be made with love and care.  For me it is comfort food.  Last time I made risotto it was for Sophia my daughter.  We both stood and chatted taking it in turns to stir, only slowing or stopping when talk got a little more interesting than making the risotto.  I also had a small problem of mid way through cooking that two more places at the table were added so to eek out the risotto I served it with rocket and a little balsamic vinegar.

I don’t know why, but I go through phases with risotto – it’s a fantastic way to use up the last little bits of the roast chicken, using the chicken carcass for the stock.  I rely on a risotto to help with the glut of courgettes from the garden, or as in this case a large pumpkin that needed eating.

I am also prone to being a little fussy with my risotto and there are certain types I really like.  Riso Superfino Carnaroli is one of them.  I am a bit of a sucker for nice packaging and Riso Superfino Carnaroli certainly ticks that box with its white cotton sack and bright red writing.  The downside is I can never bring myself to throw those little bags away after I have used up all the rice.  I have a little growing collection of them in my kitchen drawer.  I am getting to the point that I need to find a use for them otherwise they are going to have to go because space is getting very tight.

Getoilyrice

Risotto is easy to make, but it doesn’t like being reheated as the rice goes stodgy and is unpleasant.  If all the ingredients are prepared before hand it makes the standing and stirring a rather relaxing experience.  I tend to let my mind wander to what I am going to cook tomorrow or looking out of the window to see if the dog has disappeared into the vegetable garden which he knows is an out of bounds area.

There are no hard and fast rules with what you add to the risotto except it is best cooked and eaten straight away.  Risotto rice is different from other rices – so if you haven’t got a risotto rice in the cupboard leave it until you do.  Finally, as you add the stock remember to keep it simmering as you don’t want to slow down the cooking of the rice.

There are two methods of cooking the pumpkin for this recipe either on the top of the stove in a pan with foil or roasted in the oven.  I find the top of the stove the quickest.

Pumpkin MD

Pumpkin Risotto  (feeds 2 as a main)

Ingredients

1 small/medium onion chopped finely

Slice of pumpkin –  cut into bite-sized cubes

1 wine glass of white wine

2/3 tbs oil

570ml/1 pint vegetable stock/or chicken stock

200g/7 oz risotto rice

small piece of butter (optional)

Parmesan cheese grated

Method

Put the stock in a pan and leave on a slow simmer.  You need to keep the stock at roughly the same temperature as the risotto – I sometimes put the stock in a jug and keep heating it in the microwave as I need it.

Heat the oil in a large pan then add the onion, turn down the heat so that the onion gently cooks and becomes translucent without browning.

While the onion is slowly cooking put the pumpkin in a pan with a knob of butter or oil and some silver foil over the top to act as a loose-fitting lid, this will help the pumpkin to steam and retain its moisture.  It cooks fairly quickly, about 10mins – you know when its cooked as you can just put a knife into it.  When it is cooked, save some of the pumpkin putting the rest in a blender to puree.  Set aside, it will be added later to the risotto.  Or roast in the oven with garlic and a little olive oil drizzled over.  I find a pan on top of the stove the quickest.

When the onion is cooked, add the rice and turn the heat up, keep stirring so all the rice is coated in the oil.   The rice should very quickly start to change colour slightly. Now add the white wine, stir slowly until all the wine is absorbed then start to add the stock, a cup at a time.  Once added the risotto needs to be stirred.  There is no need for frantic stirring, just enough so that the rice doesn’t catch or start to stick to the bottom of the pan.  As the rice absorbs all the liquid add some more stock and keep going until the rice is cooked.  If you run out of stock and the rice still needs further cooking just add some boiled water.  There is not exact timing for risotto – you need to taste as you go along, you will know when it’s cooked because it will taste as you would like to eat it, some like it al dente and others a little softer.  Just before the risotto is cooked add the pumpkin chunks and puree, and any further seasoning.

As you take the risotto off the heat add a knob of butter and the grated parmesan cheese.  Stir, leave for a couple of minutes to stand and then serve.

Read Full Post »

Brioche MD (2)

In most tea shops around England toasted Yorkshire teacakes can be found on the menu.  There is a big difference between hand made ones and mass produced.  A little like processed bread the mass produced teacake once toasted and spread with butter  becomes a doughy nothingness, whereas the hand made version is more robust with a much better flavour and texture.  These large 6” sweet bread buns are studded with currants and are delicious split and toasted with butter.  Traditionally accompanied by a cup of tea.  I prefer to replace the currants with sultanas but any dried fruit can be used.  Someone from Yorkshire might have a problem with that, as they are quite protective of their regional recipe but I am a great believer in cooking what you like and how you like.

Fresh yeast is difficult enough to find locally let alone in the centre of London.  I would have a better chance of obtaining class A drugs than finding an ounce of fresh yeast on my local high street.  Supermarkets used to offer fresh yeast for free from their bakery section but this seems to have stopped.  I have on many occasions in the past bought fresh yeast from my local baker – what always amused me was when I asked for it the shop assistant would have to go into the actual bakery to get it and when she returned the baker himself would appear to give me the once over!  I don’t know whether he was in fear that I might be setting up a rival bakery or the notion that a customer had dared to actually have a go at yeast bakery themselves.  Alas this source has also now dried up.   Which forced me to search on the internet.  I found I could buy fresh yeast online from suppliers of flour but the minimum order premium just didn’t make ordering 100 grams of yeast viable.  The answer in the end turned out to be Ebay.  Which is where I found Paul of Online-bakery.  He offers a brilliant service – order it on a weekday and it arrives through the door the next day.  For me fresh yeast gives a better flavour and is always worth the effort of sourcing.

As soon as the yeast came through my letterbox this weekend, it was straight into the kitchen where I started on the list of yeast recipes I have been itching to make.  Starting with Yorkshire teacakes.

This recipe will make six large teacakes.  It is not compulsory to eat them all in one sitting as they freeze very well.  The best way is to split them and then freeze them.  This way they defrost all the quicker and are ready to pop under the grill for whenever there is a yearning for a toasted teacake and a cup of tea.

Yorkshire Teacakes

Ingredients

1 lb/ 450g strong white flour

1 level tsp salt

1 oz/ 30g butter

1 oz/ 30g caster sugar

½ oz /15g fresh yeast

½ pint/285ml lukewarm milk

2 oz/60g currants or sultanas

Extra milk for brushing the tops

Method

Place flour and salt into a bowl and rub in the butter.  Being lazy I use a small food processor.  I put a small quantity of the flour in with the butter, whiz to create a breadcrumb effect and then add to the rest of the flour in the bowl.

Add the sugar and sultanas (or currants).

Stir the yeast with the warm milk until blended, add to the flour mixture.

Mix to a firm dough and knead for about 10 minutes.  The dough should be smooth and elastic.

Cover and leave to rise until double in size in a warm place.

Lightly flour the work surface, knead again and divide into 6 equal sized pieces. I weigh the entire dough and then divide the number by six.

Roll into balls, flatten with the palm of your hand and put onto greased baking trays.  I find I need two trays – three Yorkshire teacakes to each.

Brush tops with milk.  Cover and leave to rise until almost double in size.

Bake in centre of the oven at 400F/Gas Mark 6 for 20 mins

The teacakes should be golden brown when ready.  If the Yorkshire teacakes don’t slide off straight away leave on the baking tray for five minutes and then remove, the extra time tends to help them to unstick.

Read Full Post »

pancakesMD

Pancakes – eaten on Shrove Tuesday were a way of using up any eggs, milk and sugar before the start of Lent.

The ingredients are basic and simple yet it is a recipe that involves the whole family.  Each one getting their pancake fresh from the frying pan and then waiting their turn after everyone else has had theirs dished up, this continues until the batter is used up.  Even the dog gets a look in, as the first pancake for some reason is always less than perfect – it is the tester and instead of going into the bin it goes to the dog.  He has now come to think of it as part of his job description.

As a family we tend to like ours simple with a sprinkling of sugar and some of us like a squeeze of lemon juice but not all of us.

There is something comforting and filling about pancakes.  Best eaten hot and with a filling of your choice.

Pancake Batter

Ingredients

100g/4 oz plain flour

1 egg

300 ml/1/2 pint milk

pinch of salt

Put the flour and pinch of salt into a bowl and make a well in the centre, crack the egg into the centre and using a wooden spoon start to beat – gradually bringing in the flour.  Add a little milk to ease the mixture.  Do not add all of the milk as it will be nearly impossible to stir out all the lumps.  Add the milk a little at a time until it’s all used up.

Now pour this mixture into a measuring jug and put a plate on top and leave to sit for 30mins plus.  The mixture needs to rest.

Copy of 4pancakes

Take a frying pan and wipe with melted butter or put a drop of sunflower oil on the bottom and then wipe off with a piece of kitchen paper.

Stir the mixture after it has stood and pour a little of the pancake mixture into the pan tilting the pan so that the mixture spreads over the bottom of the pan.  The aim is to give the bottom of the pan a light coating.  Very soon the pancake will start to form large bubbles of air under the batter and the edge of the pancake will darken and come away from the pan.  At this point lift the pancake a little and see if the underside is golden brown, if it is you can either stand back and toss the pancake over or use the less exciting spatula method.  Cook for a minute or two and when the underside has spots of brown, turn out onto a plate.

For some reason the first pancake is never perfect and is usually thrown away.  I find it is the tester for pan oiliness and heat.

Traditionally lemon juice is squeezed over with a sprinkling of caster sugar and then the pancake is rolled and eaten.

It has been known for me to make a butterscotch sauce with some sliced bananas as a filling.

pancakeTS

Butterscotch Sauce

Ingredients

60 g/2 oz butter

60 g/2 oz golden syrup

60 g/2 oz dark brown sugar

75 ml /2 floz double cream

Put the butter, syrup and sugar into a pan and gently heat.   Stir, and when it has all dissolved leave on the heat until it starts to bubble acting like molten lava.   At this point remove from heat, add the cream and stir.   Within seconds it will calm down and become a beautiful silky sauce.   May be served warm or cold.

2pancakes

To make up

1 Banana

Chop banana on to pancake and add butterscotch sauce, fold and sprinkle with caster sugar and serve.

Read Full Post »

RizogaloMD

A Greek rice pudding, which is eaten cold from the fridge.  It has a creamy light texture and is delicious sprinkled with cinnamon.  In fact I think the cinnamon has to be compulsory if you really want to enjoy this jewel of a pudding.

I say pudding but I have always eaten it for breakfast.  As a child I was told that I would have to eat something at breakfast and the choices were not great.  I didn’t fancy what was on offer – so every morning started off with a battle of wills.  The grown ups tried coaxing, then shouting and just when they were at the hair pulling out stage someone made the suggestion of rizogalo.  It had milk in it so it had to be good for small children.  A pot was fetched, delivered and eaten.  Calm had been resumed.  Everyone happy.

So from then on, every morning someone in the kitchen would be sent out to buy a single pot for my breakfast (I imagined they hated me!)  It would arrive on the breakfast tray each morning and without a murmur from me it would be devoured.  It was the highlight of the day.   Over the years it must have become a real chore because abruptly one morning no one would go out for it, they all were too busy.  So even though I was older the same old stressful morning routine started up again. The solution was easy, I would take matters into my own hands and get up a little earlier and take myself off to the shop to buy it myself.  This was the first task I was ever allowed to do on my own and I loved the freedom and importance of making a purchase all by myself.

The shop that sold the rizogalo was further down the road and it was slightly different from the other shops, it had a tree right outside which created shadow over the interior.  It was run by an elderly couple who were happy with their lot, they had no intention of expanding their empire, they had their regulars who would spend hours discussing the woes or joys of the day and time seemed to have stood still for them.

I think it amused them that I came in person to collect my morning order, no doubt they knew all about me before I had even entered their shop.  The large fridge sat to the side of the shop and it would be packed full of opaque pots filled with creamy rizogola.  I would wait by the fridge for one of the couple to come over, open it, and take out the little pot of rizogalo.  They would ask if I would like cinnamon on top and before I could answer, a large steel sifter would deliver a heavy coating of cinnamon.  This was then tightly wrapped in a small piece of printed paper and exchanged for the money held in my hot little hand.

Rizogalo was the start of my liberation!

This is a good recipe to use up the last of the aboria rice.  The beauty of this recipe is that you can alter it to your own taste, either with more rice or less sugar but do not change the milk to a lower fat milk or you will lose the richness.

Rizogalo

Ingredients

2 pints/1.13 Litres Gold top/Jersey milk (full fat) If I can’t find a high content milk I add a little double cream.

3 oz/85 g caster sugar

3 oz/85 g  aboria rice washed

1 tbs cornflour

a little cold water to mix cornflour

Method

Put the milk into a pan and bring slowly up to a gentle simmer add the washed rice and sugar stirring all the time.  If left, it will catch and burn on the bottom of the pan.  Once the sugar has dissolved turn down the heat and let it gently cook for 45 minutes.   Returning to the pan often to stir.

Taste, if the rice is soft then mix the cornflour with a little cold water until smooth and add this to the milk pan.  Continue to simmer whilst stirring.  When you have the thickness you want remove from the heat allow to cool and put into glasses or dishes and put in the fridge for a couple of hours or until chilled throughout, overnight is fine.

It is best eaten chilled with a liberal sprinkling of cinnamon over the top.

Read Full Post »

%d bloggers like this: